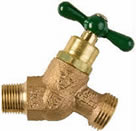
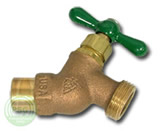
How to Replace a Hose Bib
In this video, Greg demonstrates how to remove and replace a hose bib on the outside of a building.
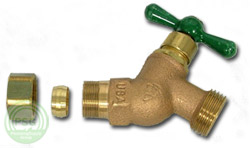
Two types of attachment are covered in the video: Screw on, and soldered on (also known as "sweat").
 |
 |
For the solder-on installation Greg uses a Mapp gas torch , which is hotter than a propane torch. Also, be sure to use lead-free solder for all potable water plumbing pipe soldering. Greg uses a high silver content solder.
What is NOT covered in this video are:
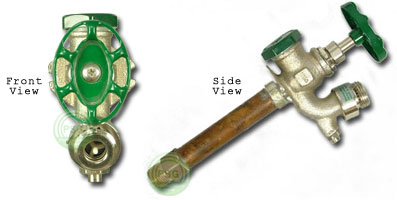 |
Frost free hose bibs. In these faucets, the shut off valve is actually well within the wall away from the freezing environment. The control shaft enters the valve straight into the building (not at an angle), and the valve is constructed so that water can drain out when the valve is closed (so that it cannot freeze within the spigot). |
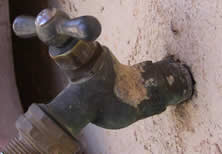 |
Hose bibs that are installed with no space between the spigot and the wall, leaving no room to work with the solder joint. Due to the potential for damage to the exterior of the building, it may be best to attempt to service the valve in place, or call a plumber to replace the valve. |
 |
Compression type fittings. Not difficult, but just not covered in this video. |
| Time to complete | 10 min |
| Materials | teflon tape,replacement hose bib, flux paste, solder |
| Tools | crescent or adjustable wrenches, torch |
| Skill level | medium |